Installation Information
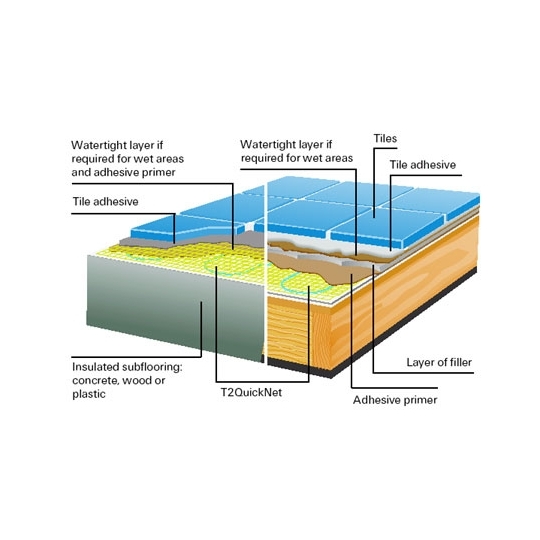
T2QuickNet
| » | The T2QuickNet mat -with premounted heating cable is available in ready-made lengths. |
| » | Very thin; no need to raise thresholds. |
| » | Mat with self-adhesive backing; no need for glue or staples. |
| » | Is laid directly in the filler. |
| » | Needs only one cold lead. |
Ideal for renovation
The heating mat can be embedded in a thin layer of filler on the existing floor (wood, plastic or concrete). It requires only a 3 - 5 mm cover + floor thickness.
T2QuickNet: Key Installation Steps

Mat installation
Roll out the heating mat on the clean floor.
Apply a layer of adhesive primer.
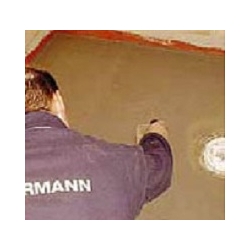
Filler layer
Carefully apply an even layer of filler on top of the cable. Let it cure according to instructions.

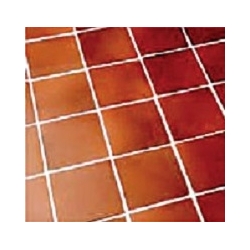
Tile installation
Spread the tile adhesive and then lay out and join the tiles. In wet areas, apply a watertight coating before the tile adhesive.
Finished floor
All passage areas; corners and angles are sealed with sanitary silicon. Allow the floor to cure completely before turning the floor heating system on.
Notes:
All electrical work must be performed by an authorized electrician.
In general it is to be ensured that only floor coverings which are suitable for floor heating are employed.